


How to Successfully Grow Vanilla Orchids in Your Home In Any Location

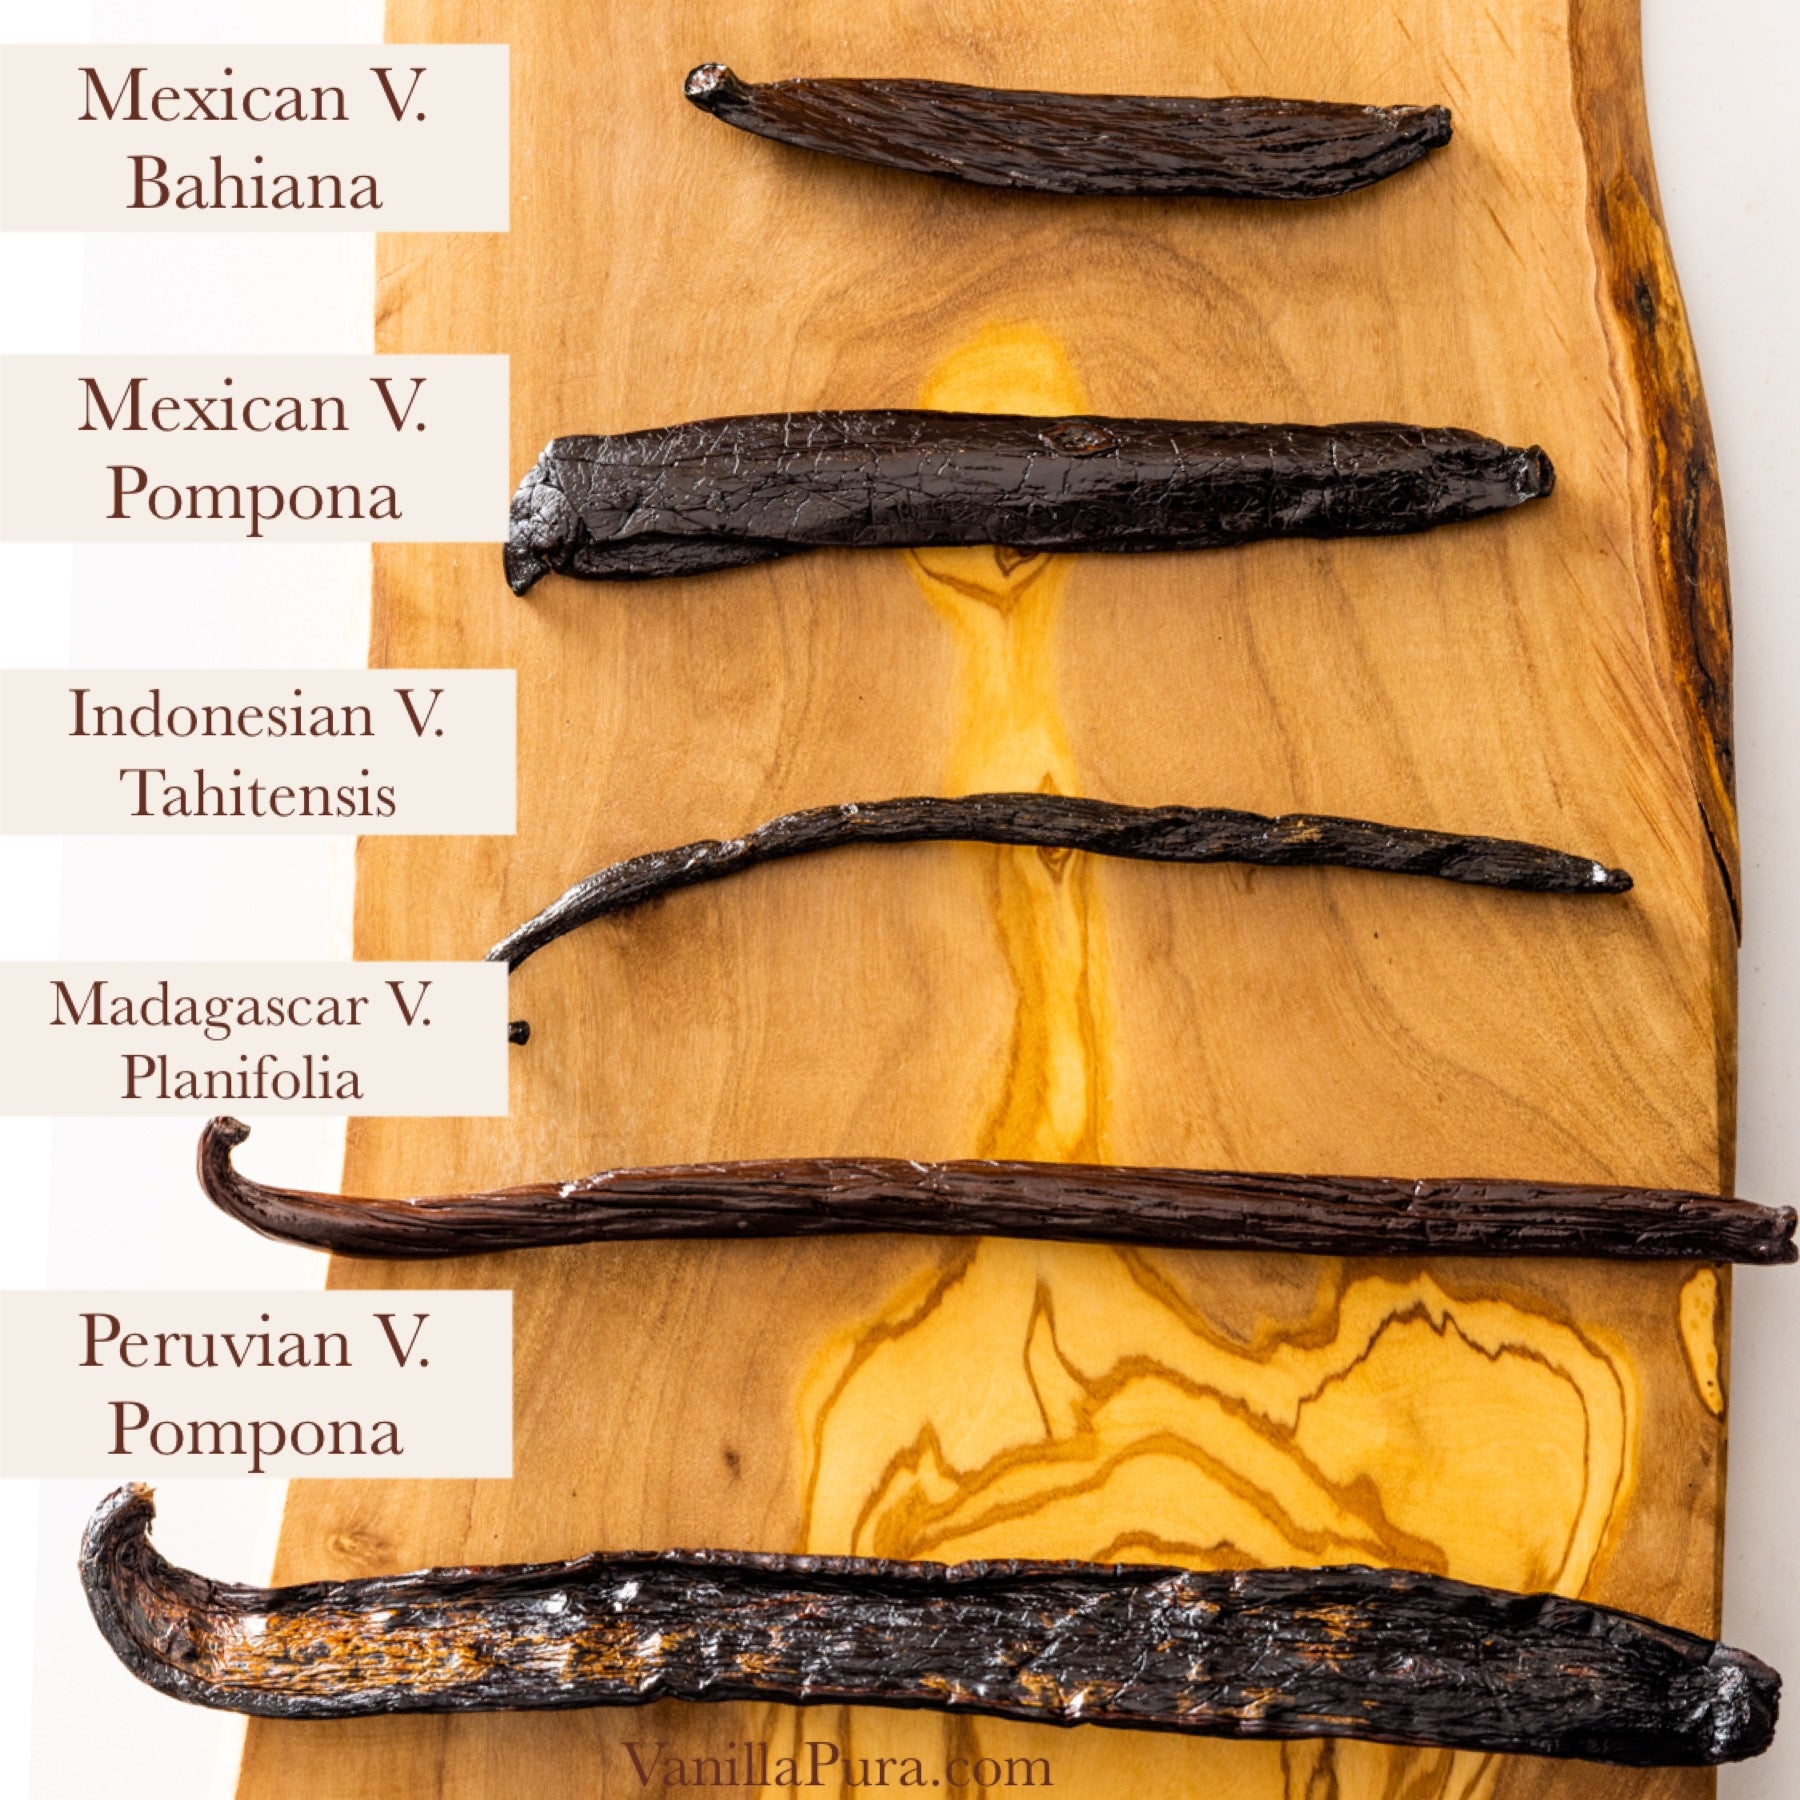
Vanilla orchids (Vanilla planifolia, V. tahitensis, V. pompona, V. cribbiana, etc.) are a fascinating and rewarding plant to grow at home, especially if you’re a fan of vanilla’s sweet fragrance and flavor. While growing vanilla from seed is incredibly difficult, starting with a clipping makes the process much more manageable. With the right care, patience, and environment, you can successfully cultivate your own vanilla vine. Here’s a step-by-step guide to growing a vanilla orchid from a starter clipping in your home.
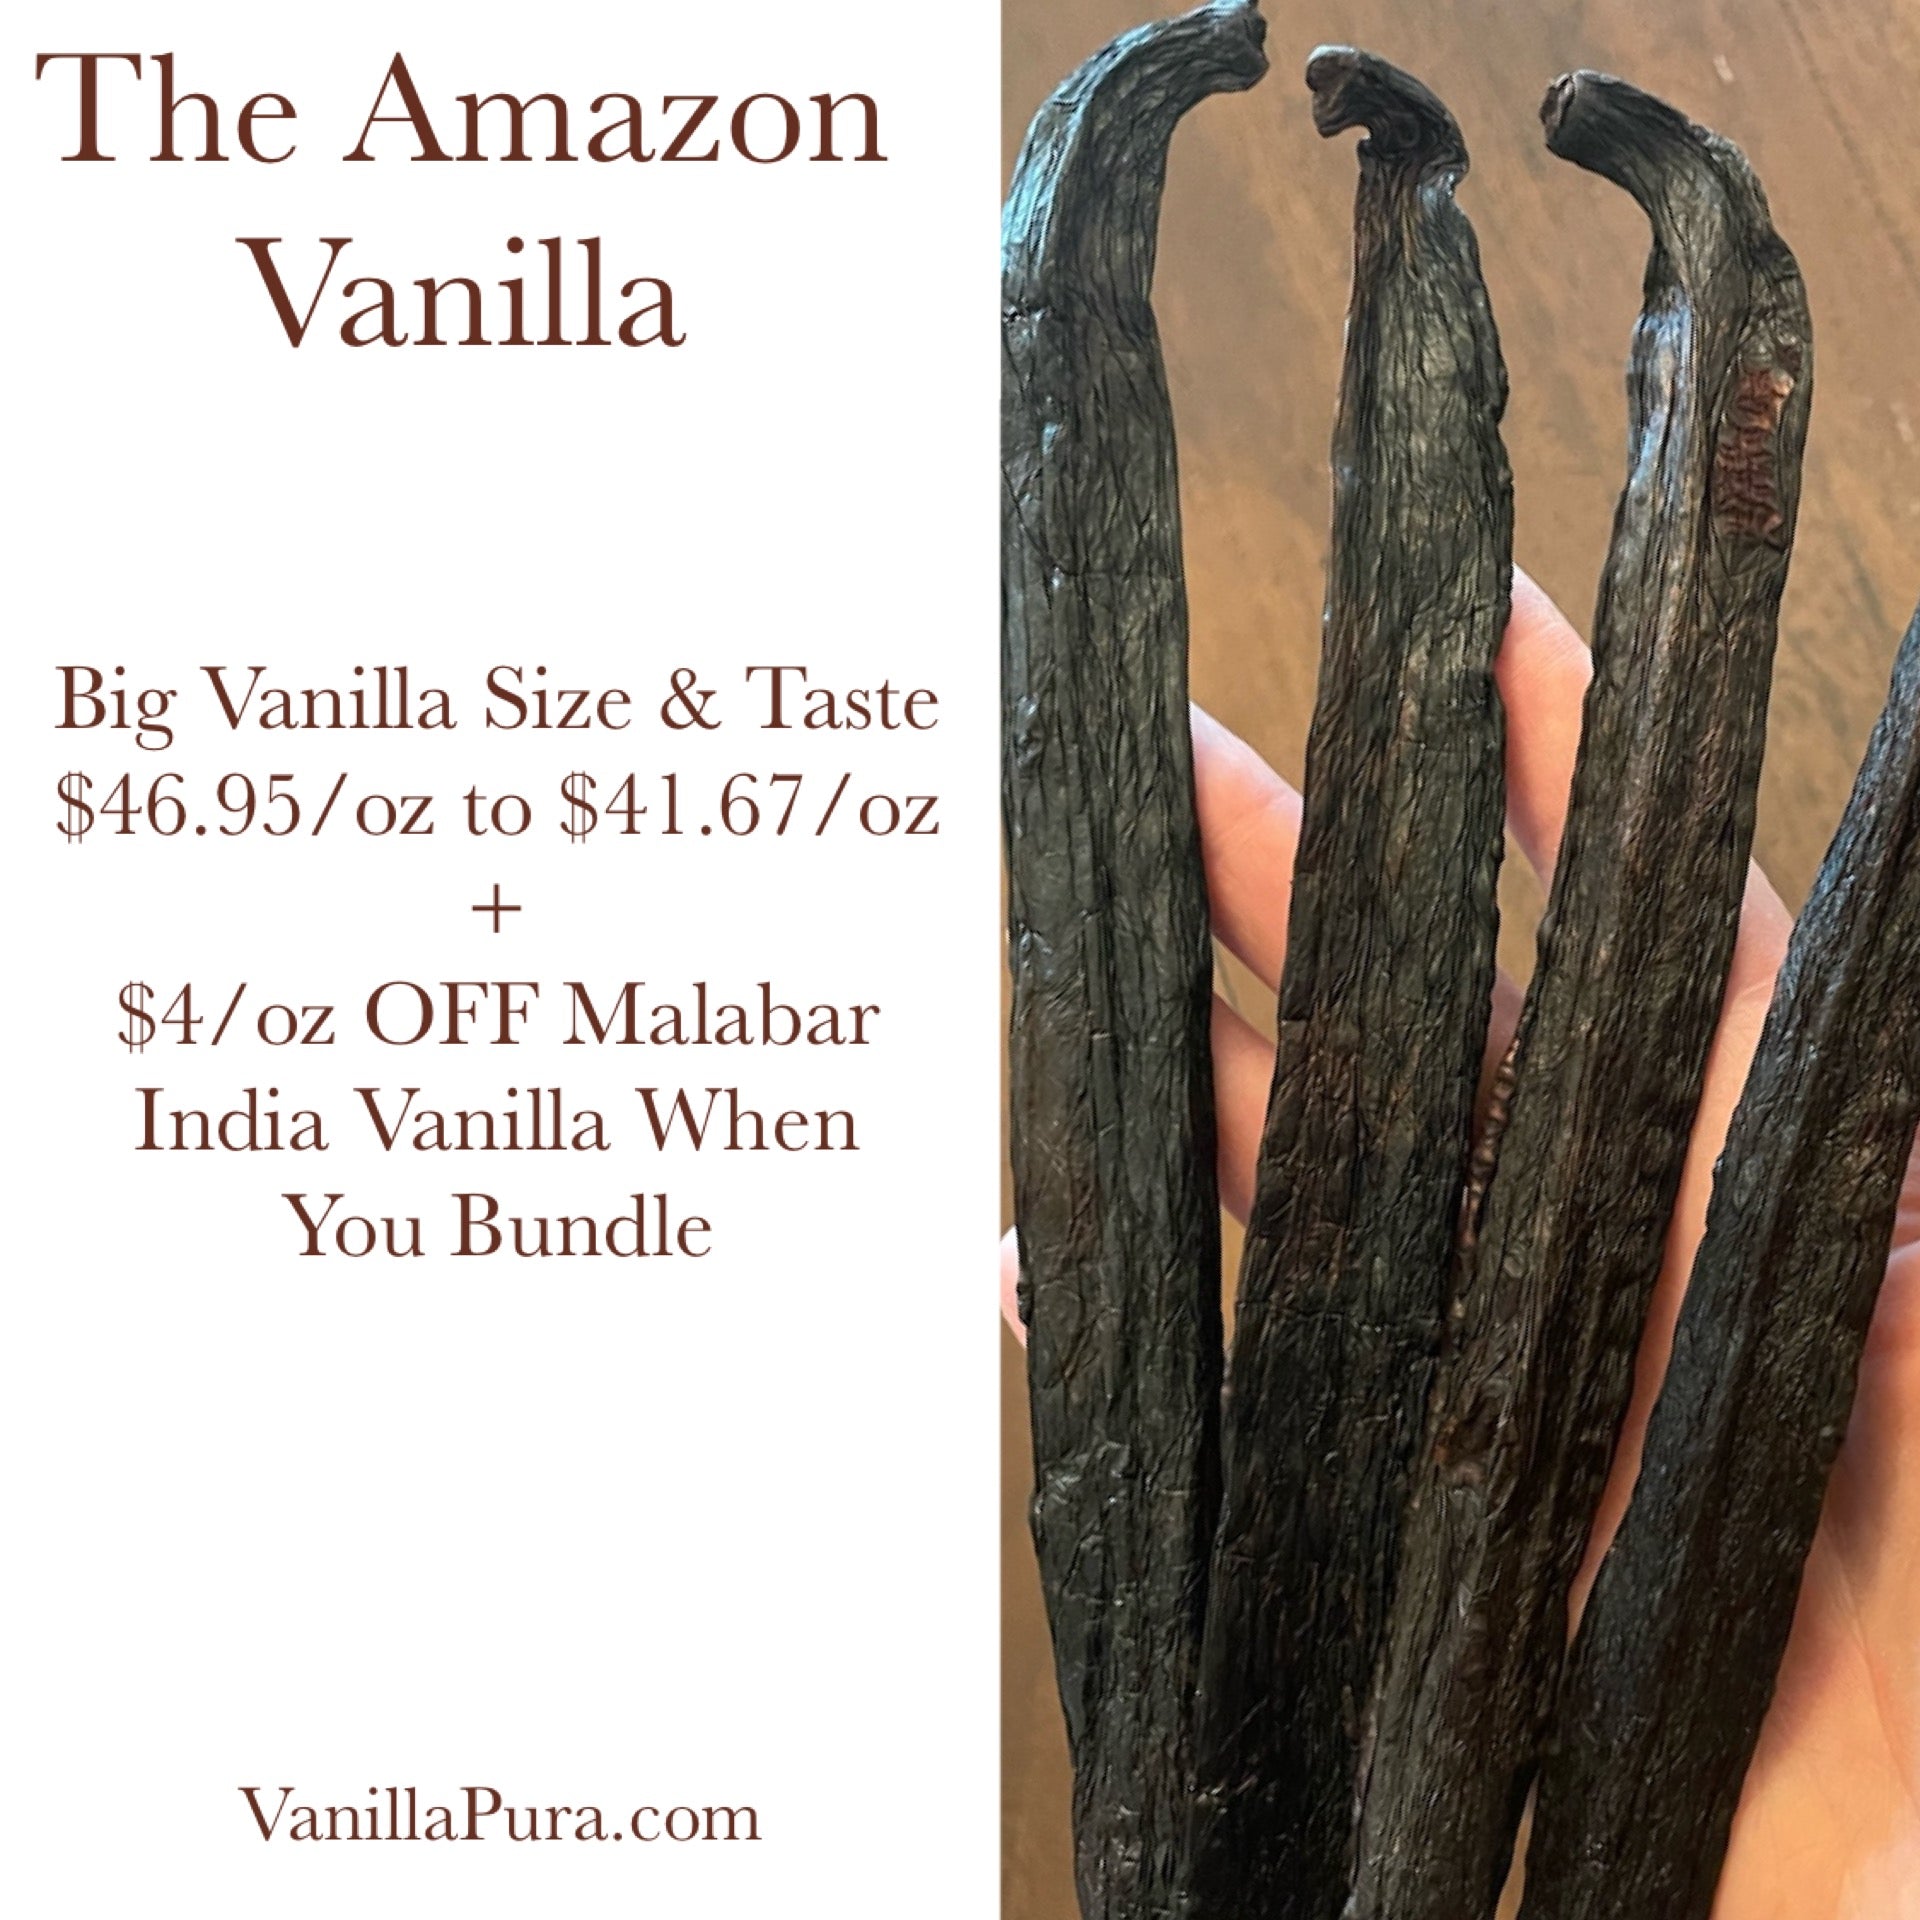
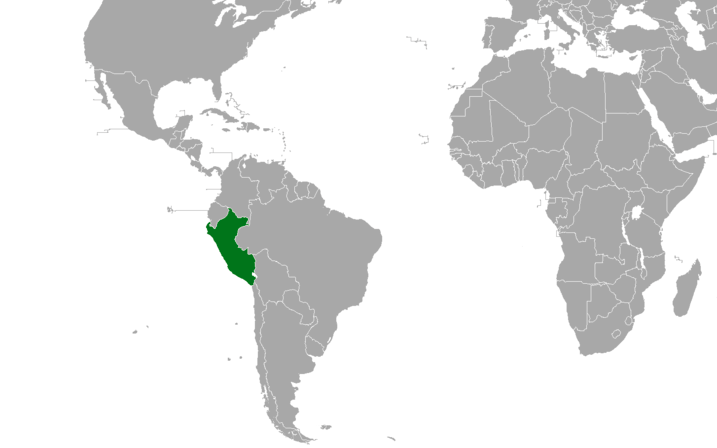
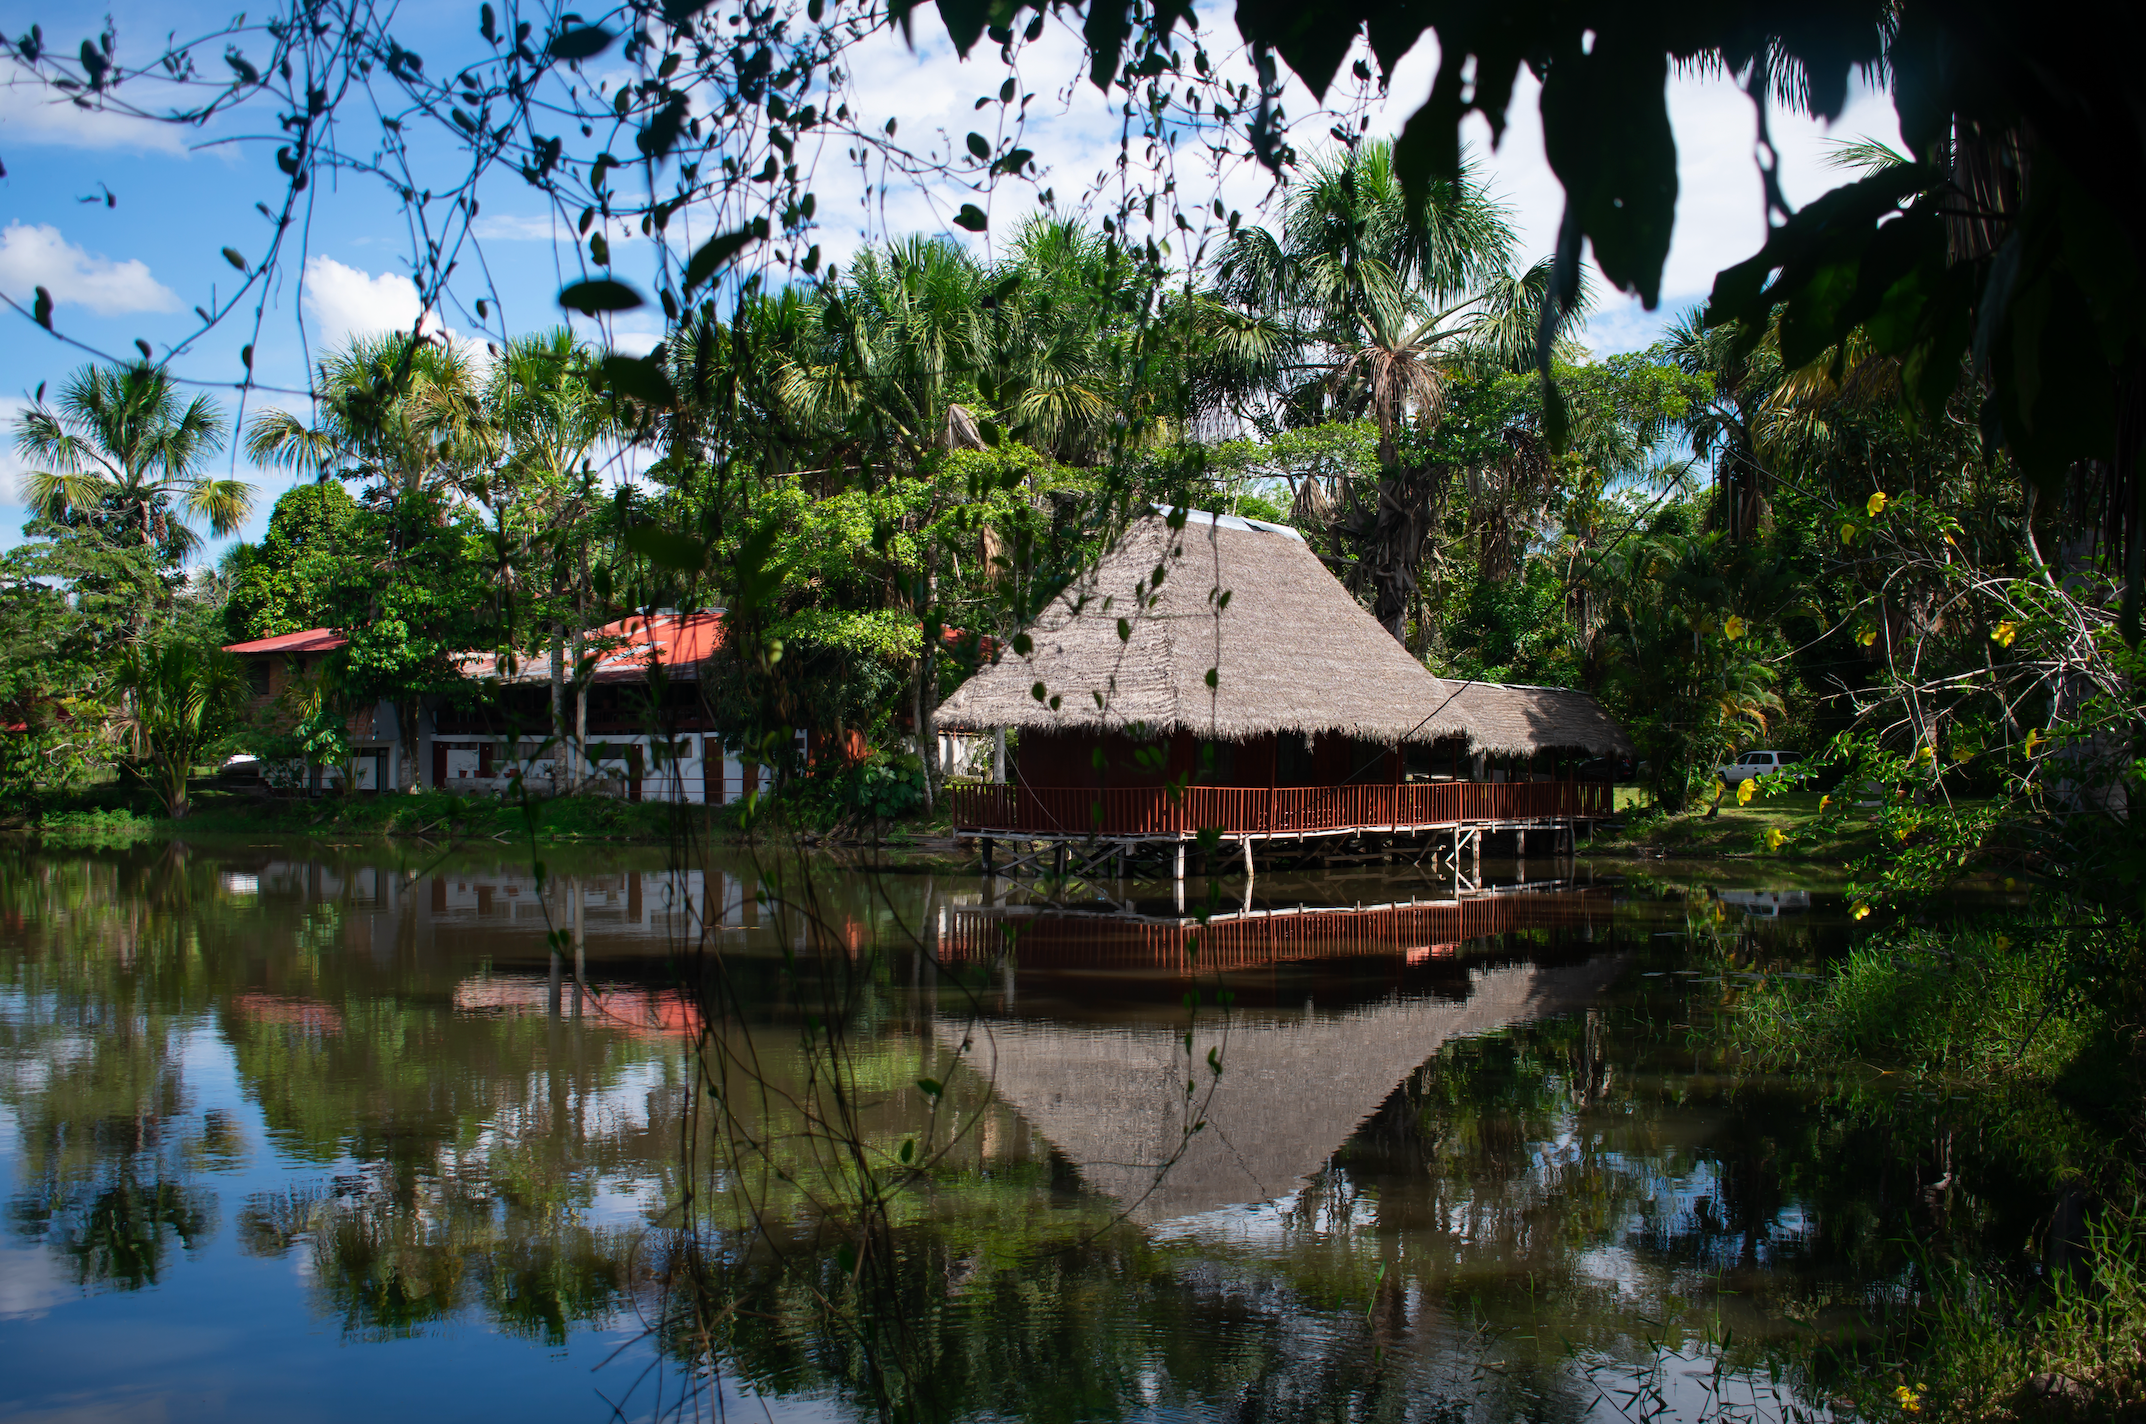
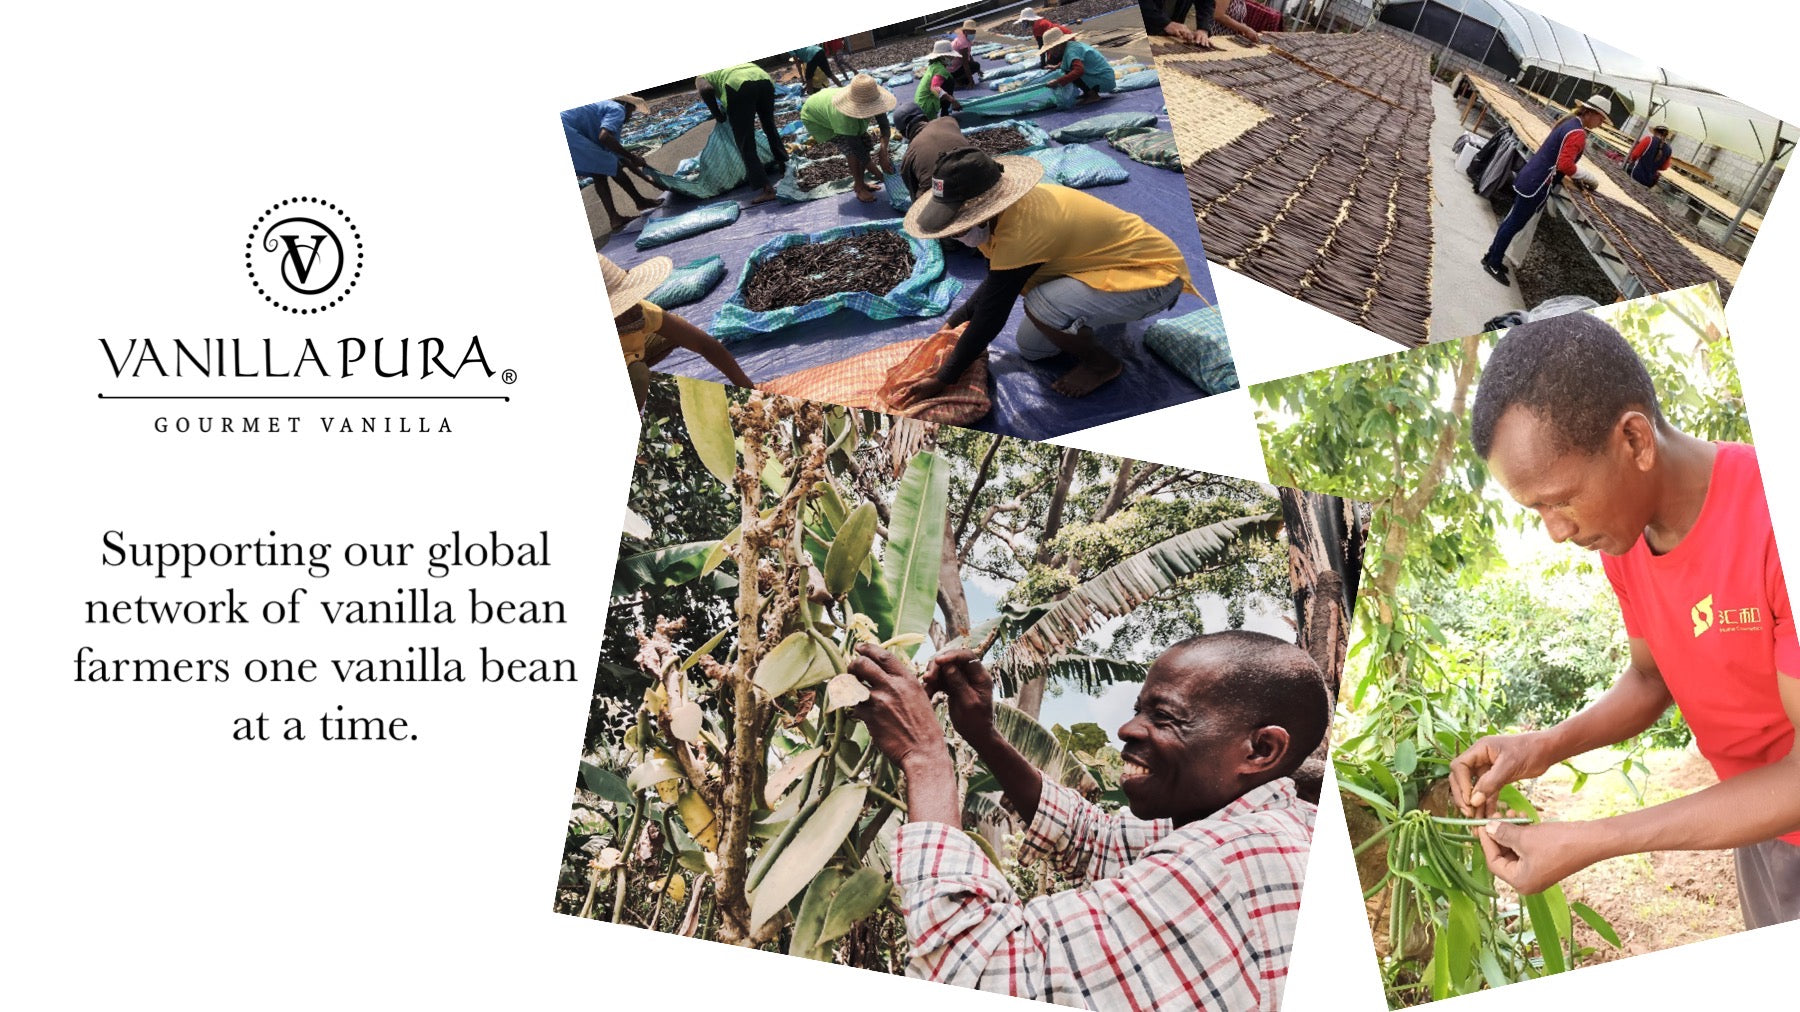
You can purchase your cuttings right here from our network of the world's most experienced vanilla farmers.
The instructions here are intended to be a summary guide written more like a recipe to help guide you through the process. Our good friend John in Florida created a more detailed journal of his experience in starting an vanilla orchid that you may also find interesting and helpful. In addition, you can join thousands of orchid growing enthusiasts from around the world for 24/7 support by joining our Orchid Growing Facebook Group.
What You’ll Need
Before you begin, gather the necessary supplies:
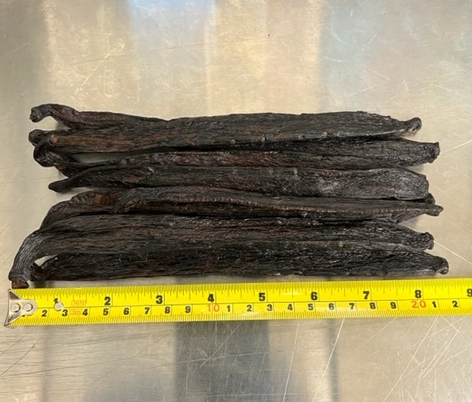
- A healthy vanilla orchid cutting (at least 6 inches long with aerial roots)
- A well-draining pot (preferably with a trellis or support)
- A mixture of orchid bark, sphagnum moss, and perlite
- A spray bottle for misting
- A warm, humid location with indirect sunlight
Step 1: Preparing the Cutting
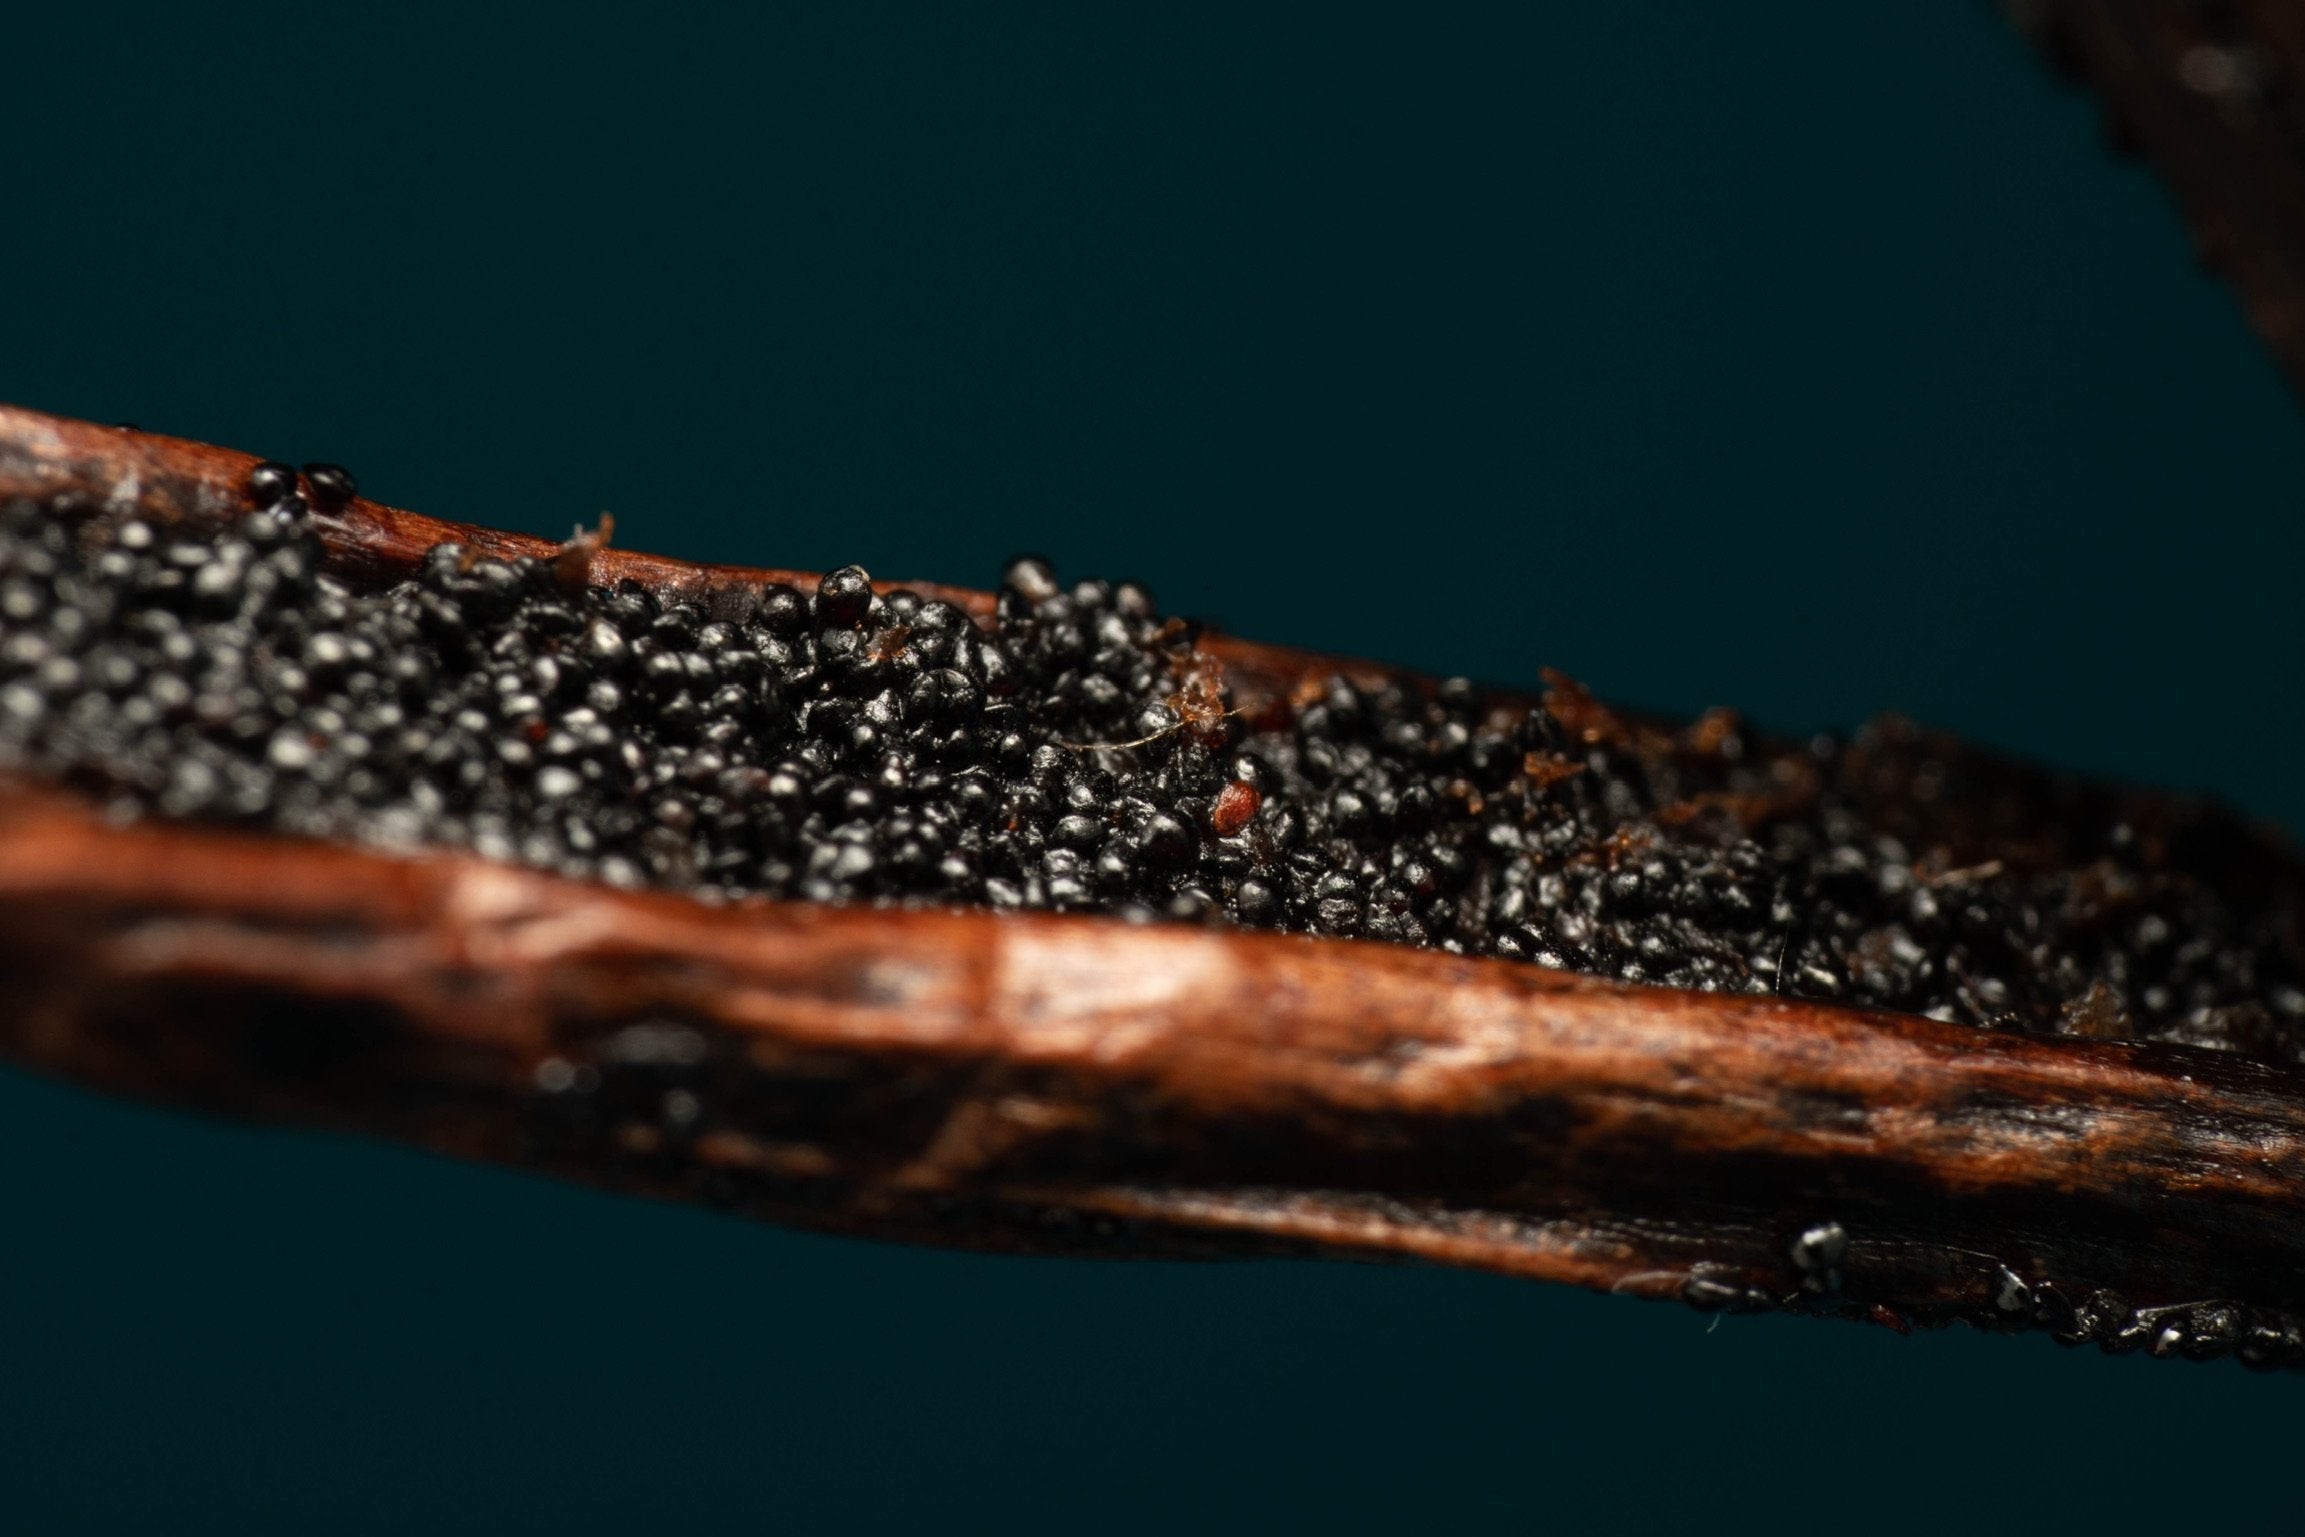
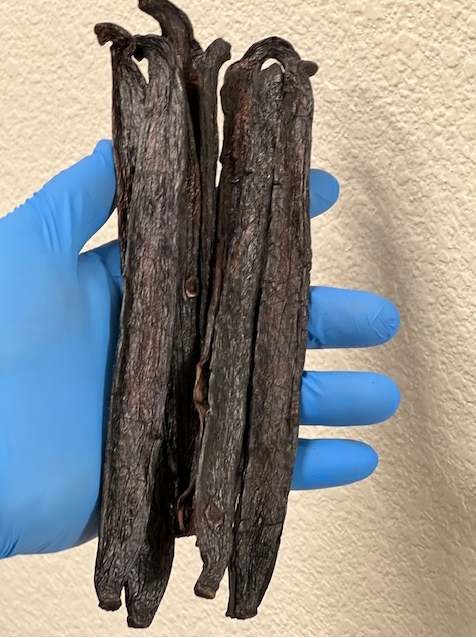
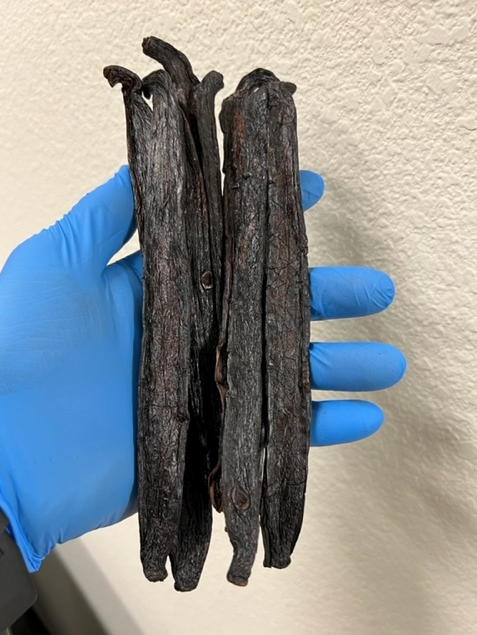
Once you receive your vanilla orchid clipping, inspect it for any signs of rot or damage. Trim off any unhealthy portions and allow the cut end to dry for a few hours before planting to prevent fungal infections. Here is a picture showing an example of what rot might look like. Simply cut it away 1/2" above the rot line.

Step 2: Choosing the Right Growing Medium
Vanilla orchids prefer a loose, well-aerated growing medium. A blend of orchid bark, sphagnum moss, and perlite provides the drainage and moisture retention needed for healthy root development.

Step 3: Planting the Cutting
- Fill a pot with the prepared growing medium.
- Insert the vanilla orchid cutting into the medium, ensuring at least one or two nodes (where the roots emerge) are buried.
- Lightly pack the medium around the base of the cutting to provide support.
Step 4: Providing Proper Support
Vanilla orchids are climbing vines, so they require a structure to attach to as they grow. A wooden trellis, moss pole, or even a bamboo stake can help the vine establish itself.


Step 5: Creating the Ideal Environment
Vanilla orchids thrive in warm, humid conditions. Keep your plant in a location with:
- Temperature: Between 70-85°F (21-29°C)
- Humidity: 70% or higher (use a humidifier or mist regularly)
- Light: Bright, indirect sunlight (avoid direct sun, which can scorch leaves)
- In colder locations, a small area near a window or a UV light where heat can be easily controlled is best.
Step 6: Watering and Humidity Maintenance
Vanilla orchids need consistent moisture but should never sit in water. Mist the plant daily and water the soil when the top layer feels dry. Using a humidity tray or placing the plant in a bathroom or greenhouse can help maintain optimal humidity.
Step 7: Fertilizing for Healthy Growth
Feed your vanilla orchid every two weeks with a diluted orchid fertilizer during the growing season (spring and summer). Reduce feeding in fall and winter when growth slows.
Step 8: Encouraging Growth and Flowering
Vanilla orchids take several years to mature before they bloom. To encourage flowering:
- Ensure the plant is well-established and climbing.
- Maintain high humidity and warmth year-round.
- Provide occasional stress by allowing slight drying between watering cycles.
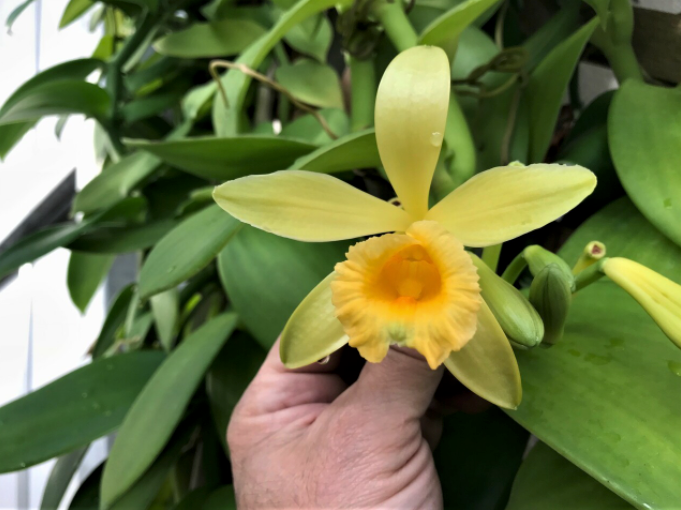
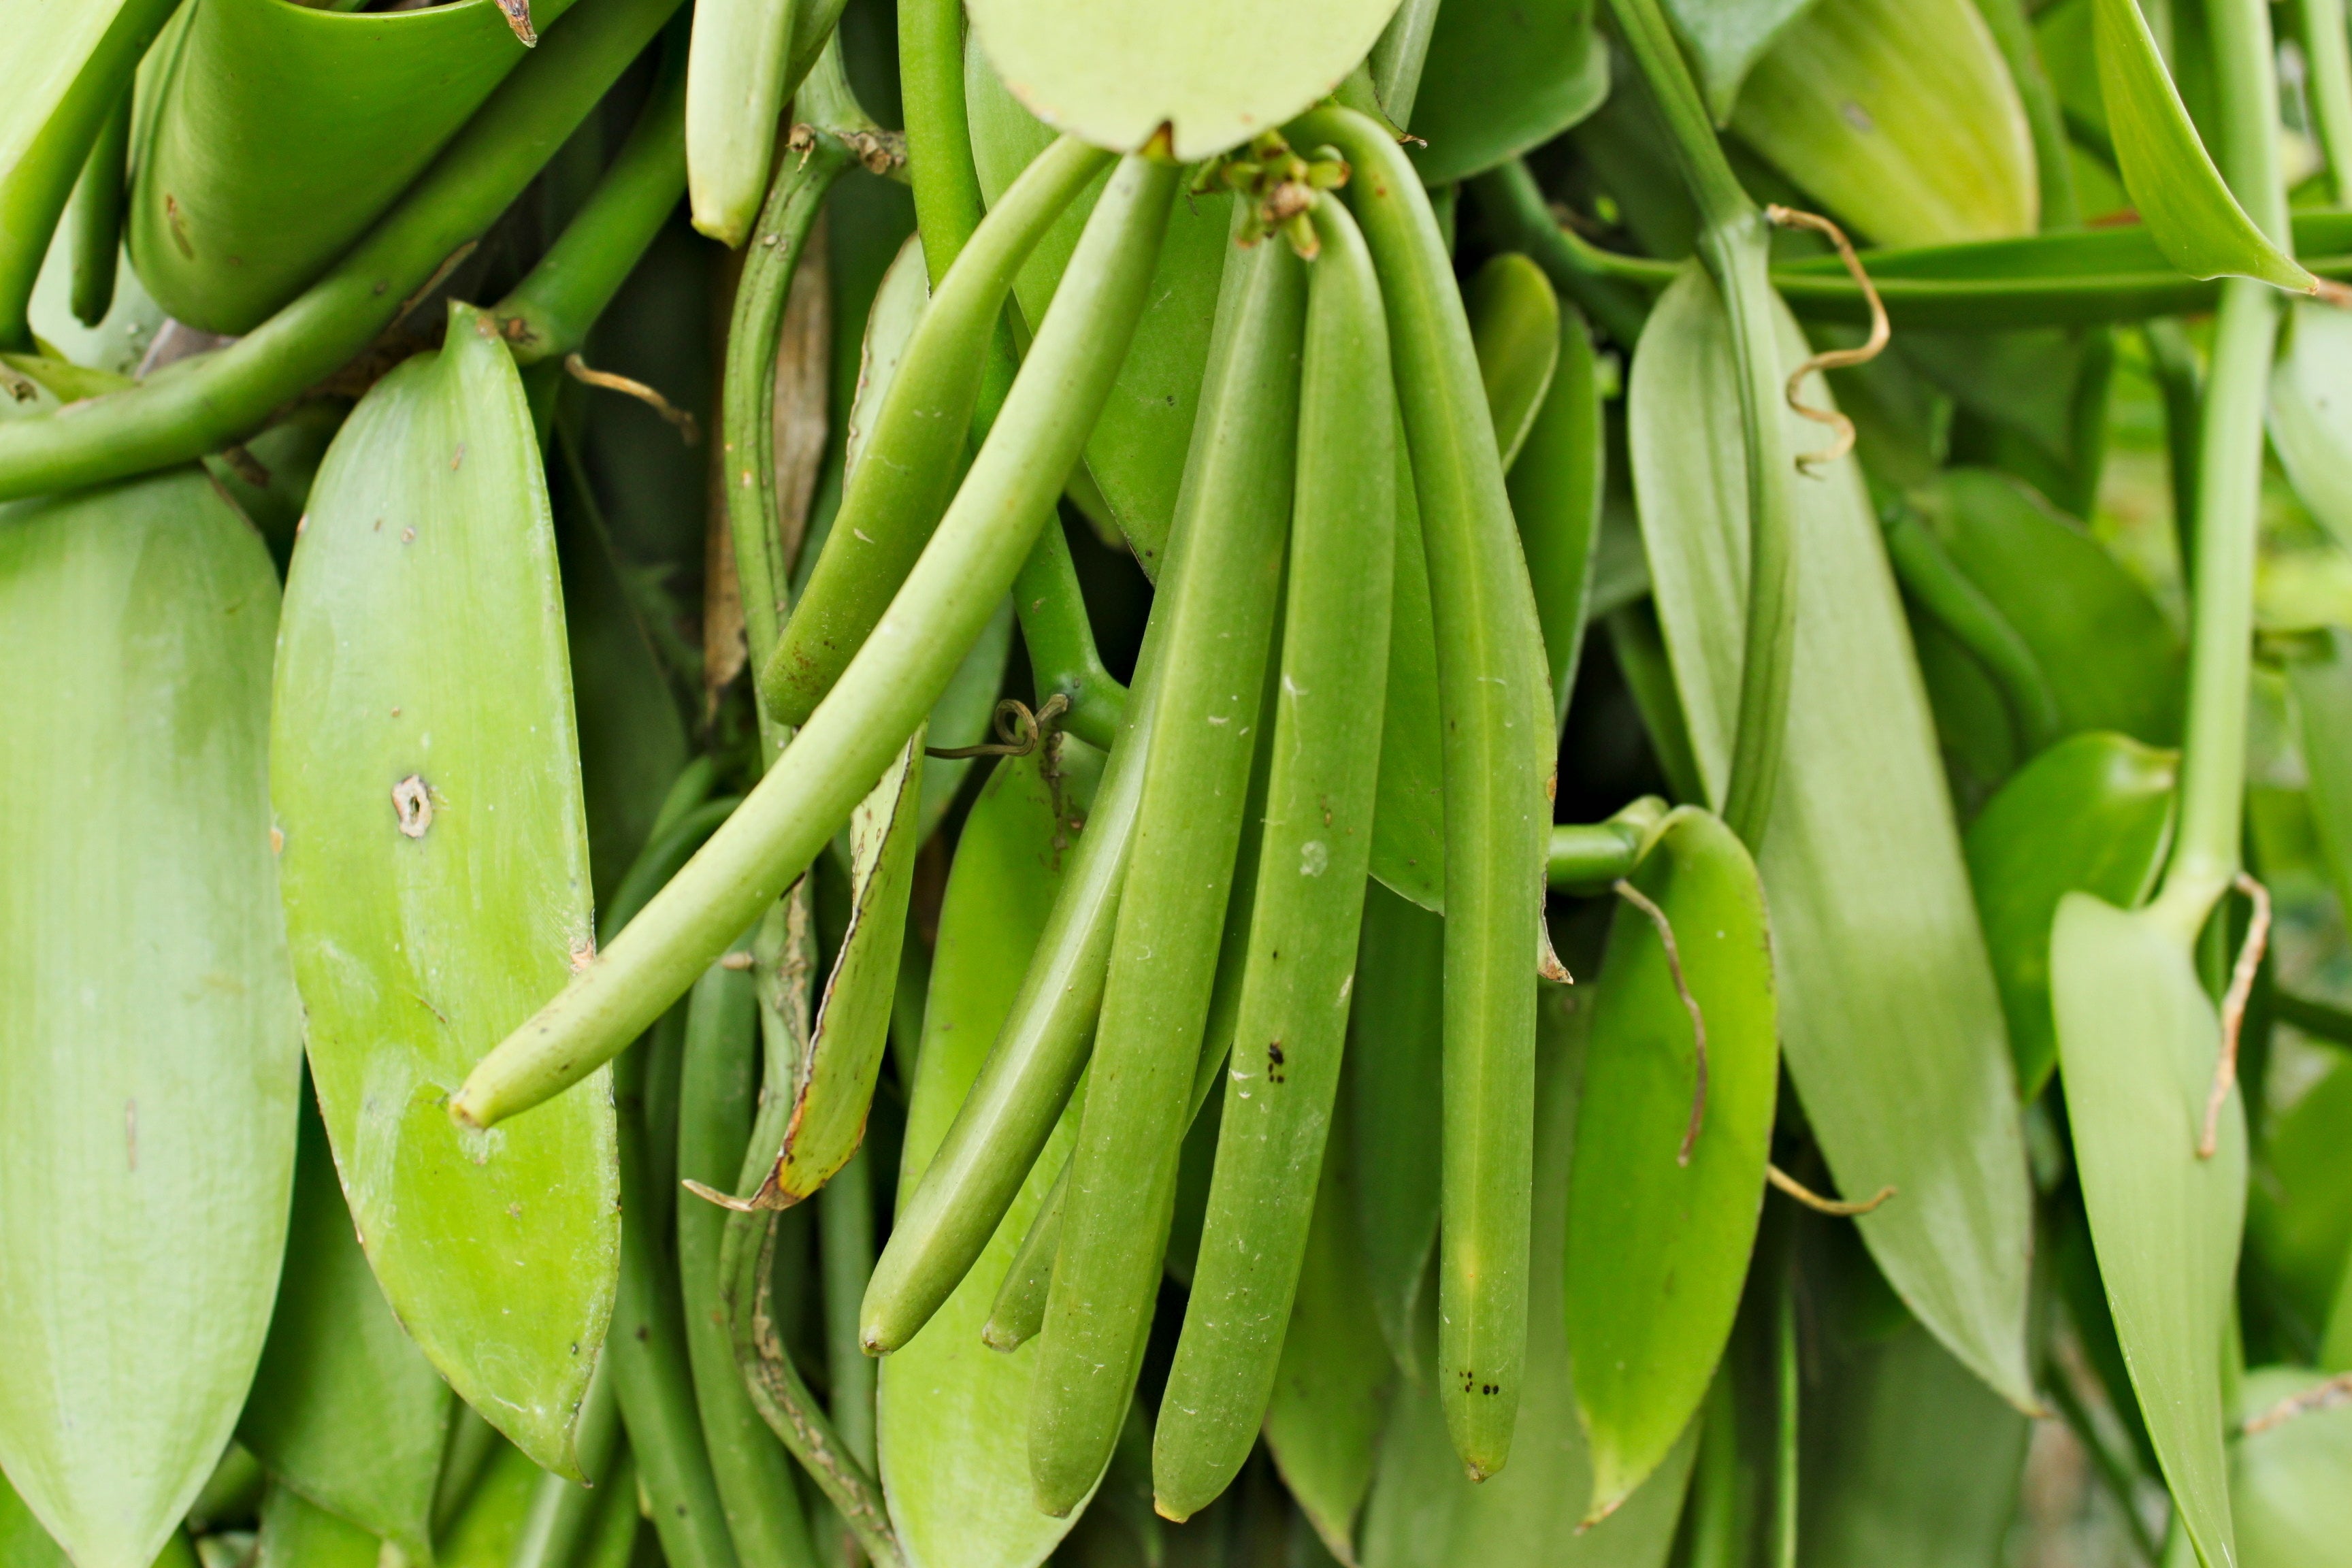
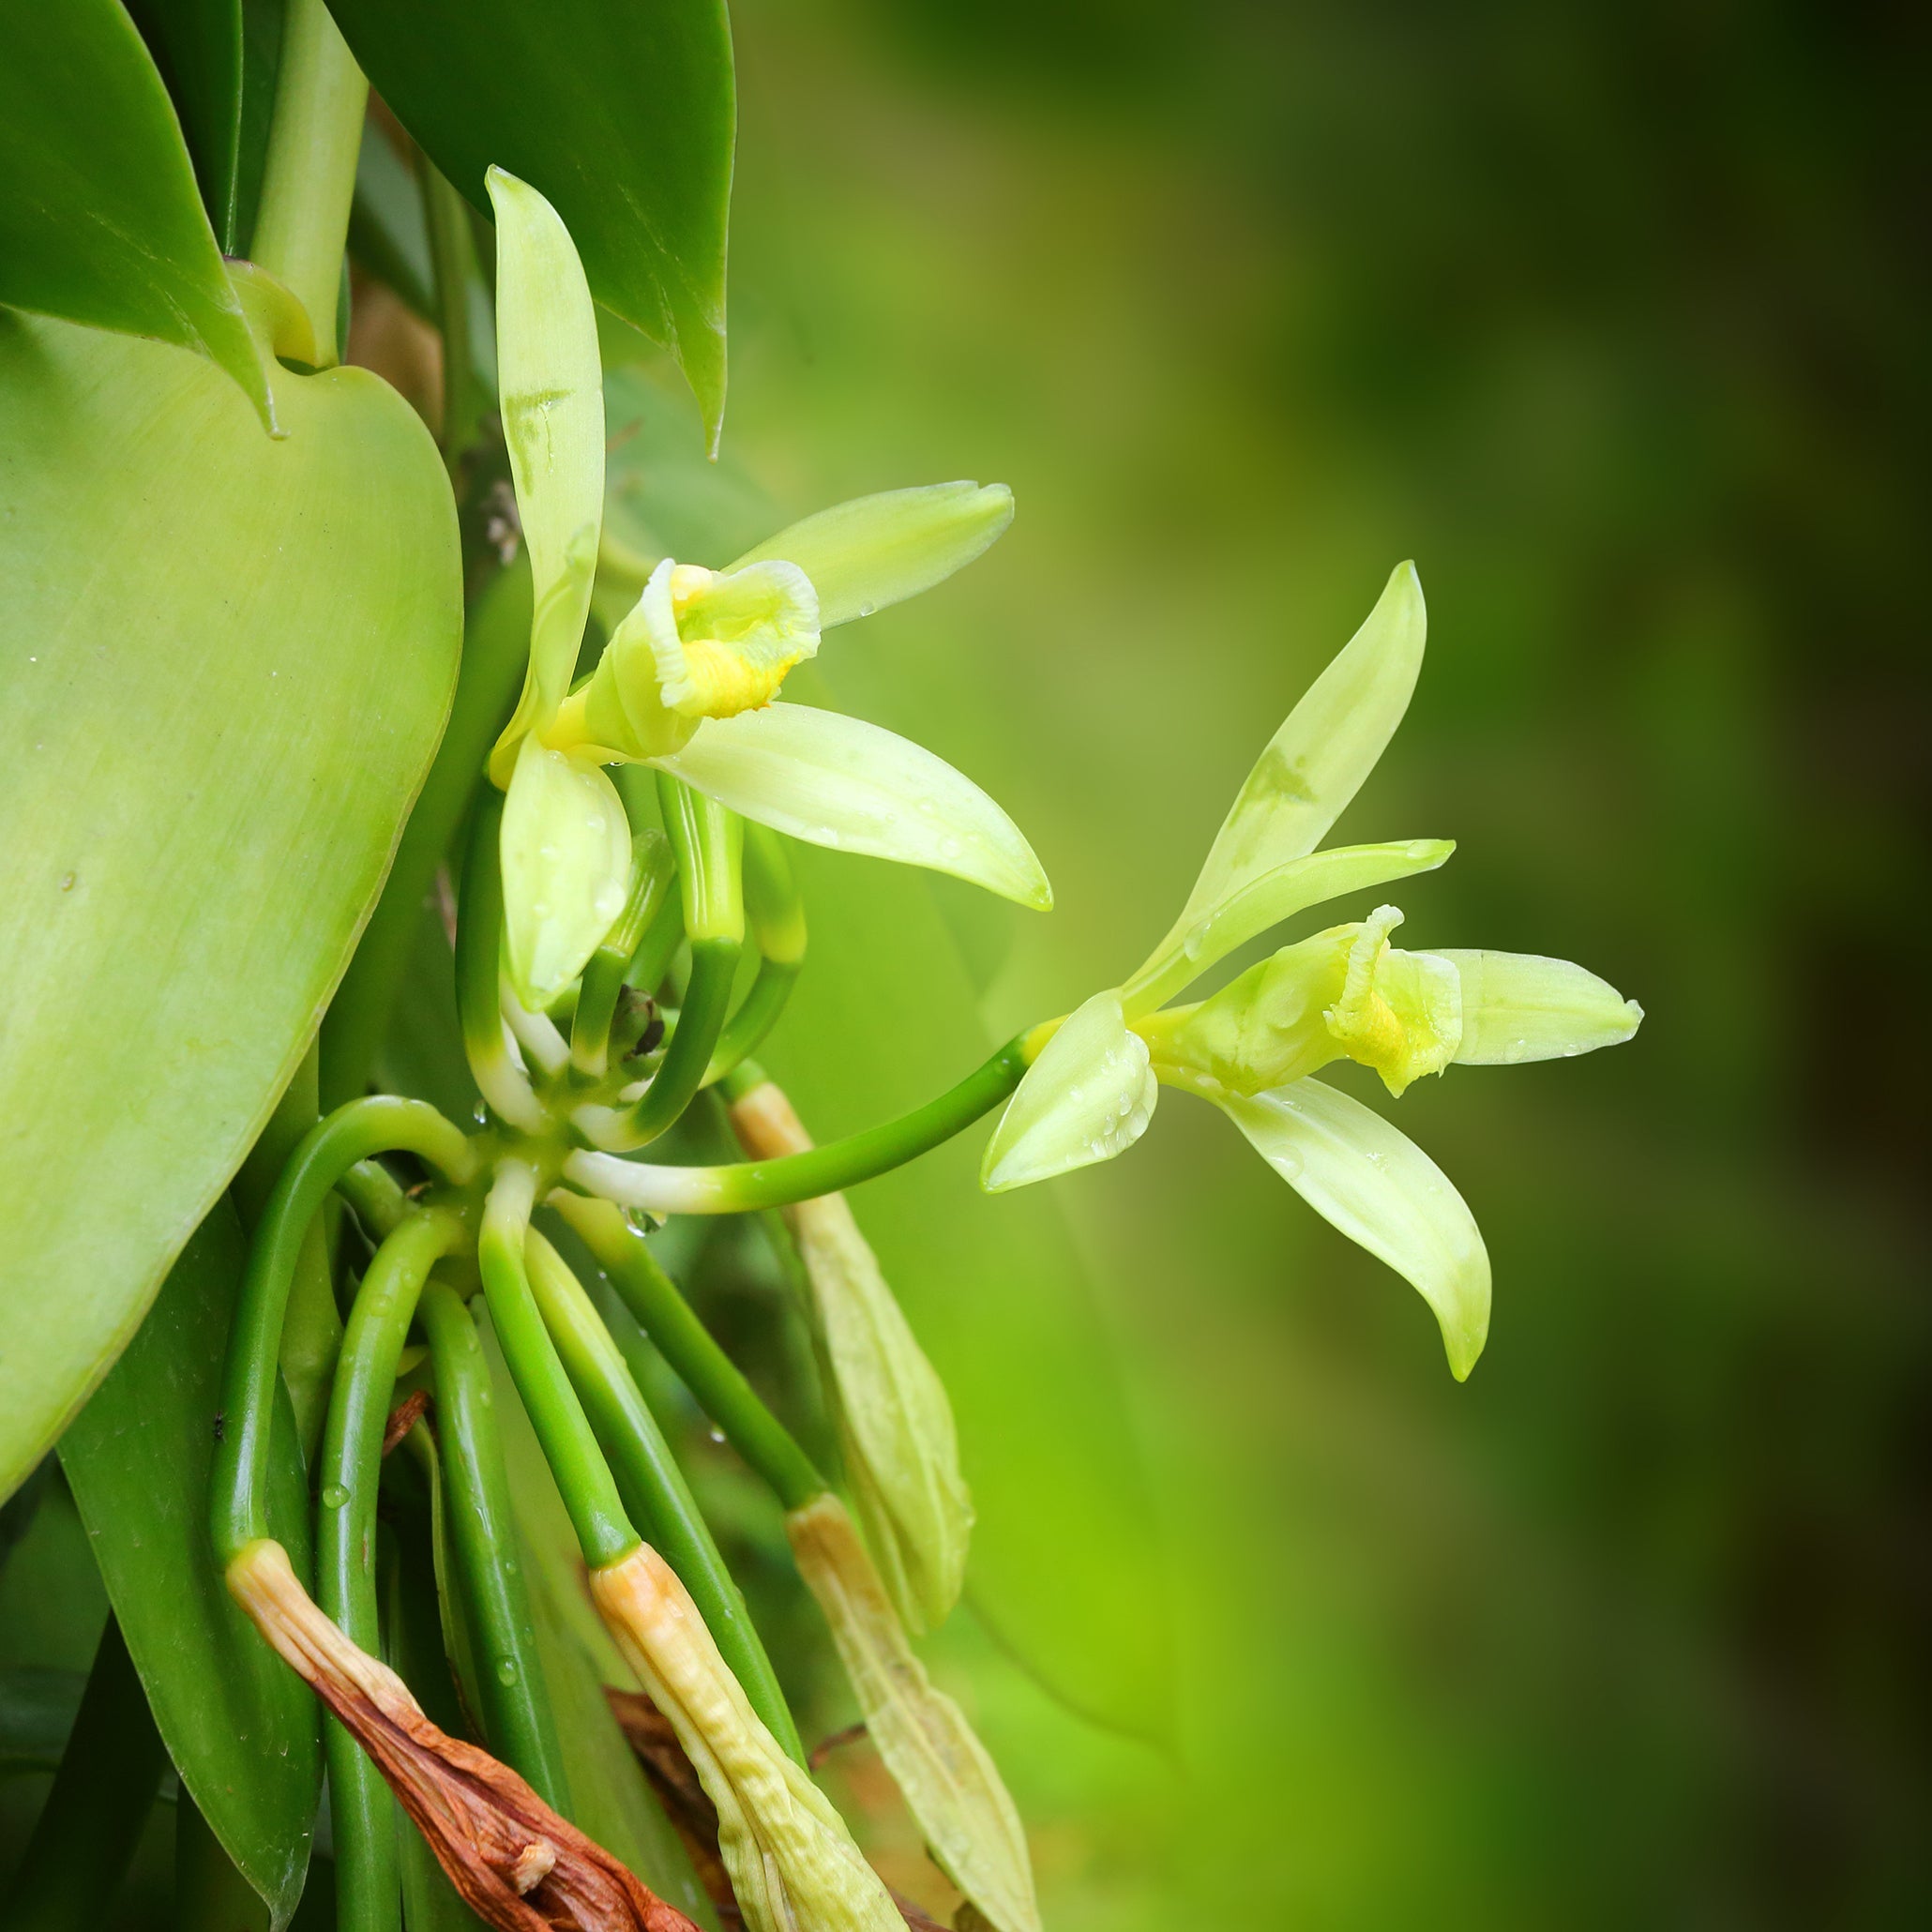
Step 9: Pollination and Harvesting Vanilla Beans
Once your orchid blooms, you’ll need to hand-pollinate the flowers (since natural pollinators like certain bees are not present in most indoor environments). If successful, you’ll see pods forming, which can take months to mature before harvesting and curing.
Here's a quick 40 second video of us hand pollinating vanilla orchids with our farmer in Hawaii:
Final Thoughts
Growing a vanilla orchid from a starter clipping at home requires patience, but the reward of seeing your vine flourish—and possibly even producing vanilla beans—is well worth the effort. By providing warmth, humidity, and the right care, you can enjoy this exotic and beautiful plant in your own home.
What if your leaves start turning brown and you think there is a problem? Visit our trouble-shooting guide to get back on the right track.
Have you grown a vanilla orchid before? Share your experiences and tips in our Orchid Growing Facebook Group. And check here to see what type and origin of vanilla vine cuttings are currently offered through our low-price vanilla vine group buy.